 POSTED ON April 08, 2025
 How to Install an SSD in Your PC: Step-by-Step Guide
Installing an SSD on your PC is one of the most impactful upgrades. If you're upgrading for faster boot times, gaming, or video editing, an SSD can make a significant difference. In this guide, we'll show you how to install an SSD in PC step-by-step. From understanding the difference between SATA SSD vs M.2 SSD to selecting the best SSD for your needs, we’ll cover everything you need to know to get started.
Step 1: Choose the Right SSD for Your PCBefore diving into the installation process, it's crucial to choose the best SSD for your PC. You have to remember several factors to consider, including the type of SSD, storage capacity, and whether it’s compatible with your system.
- SSD vs HDD: SSDs are faster, more durable, and use less power than traditional HDDs. Upgrading to an SSD can boost boot times and game load speeds.
- Best SSD for Gaming: If you’re a gamer, opt for an NVMe SSD for gaming. These are faster than traditional SSDs and can load large games quickly.
- Best SSD for Laptop: If you’re upgrading a laptop, consider a 2.5-inch SATA SSD, which is compatible with most laptops.
- M.2 SSD vs SATA SSD: M.2 SSDs are smaller and faster than SATA SSDs. But make sure your motherboard has an M.2 slot if you choose this option.
- External SSD for Gaming: For portable storage, an external SSD for gaming provides excellent speeds and flexibility.
- Affordable SSD: If you’re on a budget, look for a budget-friendly SSD that still offers solid performance.
- PCIe SSD for PC: If you have a high-performance PC, a PCIe SSD for PC can deliver even faster read and write speeds than M.2 SSDs.
Step 2: Gather Your Tools and Backup DataYou’ll need a few tools to get started:
- Screwdriver to remove the case panels.
- Anti-static wrist strap (optional but recommended to prevent static damage).
- A backup of your important data, in case anything goes wrong during installation.
Step 3: Power Down Your PC
You have to completely power down your PC and also unplug all cables, including the power cable, monitor, keyboard, and mouse. It's also a good idea to press the power button for a few seconds to discharge any residual power.
Step 4: Open Your PC Case
You have to remove the screws to secure the side panel of your PC Case. Carefully slide the panel off to access the internal components.
Step 5: Locate the Storage Slot
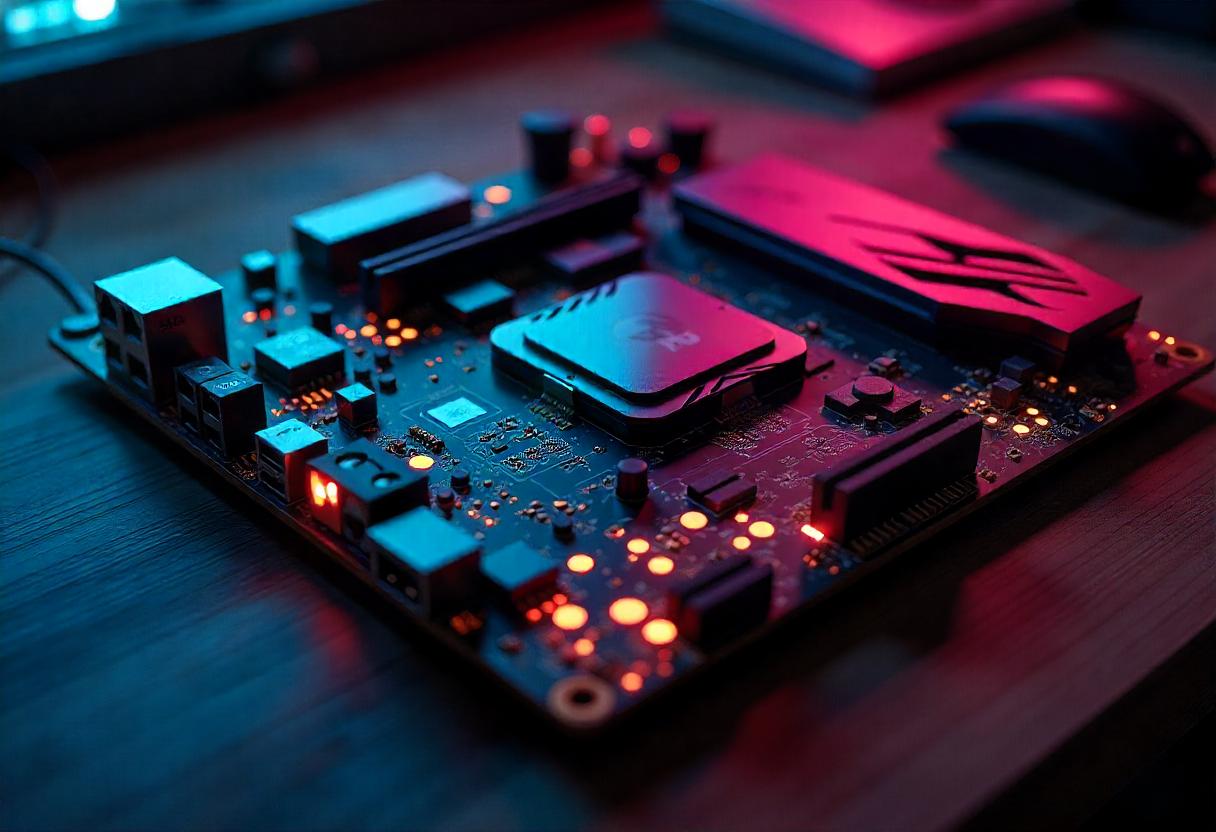
Depending on the type of SSD you've purchased, you’ll need to locate the appropriate storage slot in your PC. 2.5-inch SATA SSD usually mounts into a 2.5-inch drive bay or bracket in your PC case. M.2 SSD will fit into a special M.2 slot on the motherboard. So, you have to notice the slot before attached. If you're using a PCIe SSD, you'll need to install it in a PCIe slot on the motherboard.If you’re replacing an existing hard drive or SSD, remove it by unscrewing the mount and unplugging the cables.
Step 6: Install the SSD
Now that you’ve located the storage slot, follow these steps to install the SSD:
- For a 2.5-inch SATA SSD: Mount the SSD in the 2.5-inch drive bay and connect it to the motherboard with a SATA cable. Connect the power cable from the power supply unit (PSU) to the SSD.
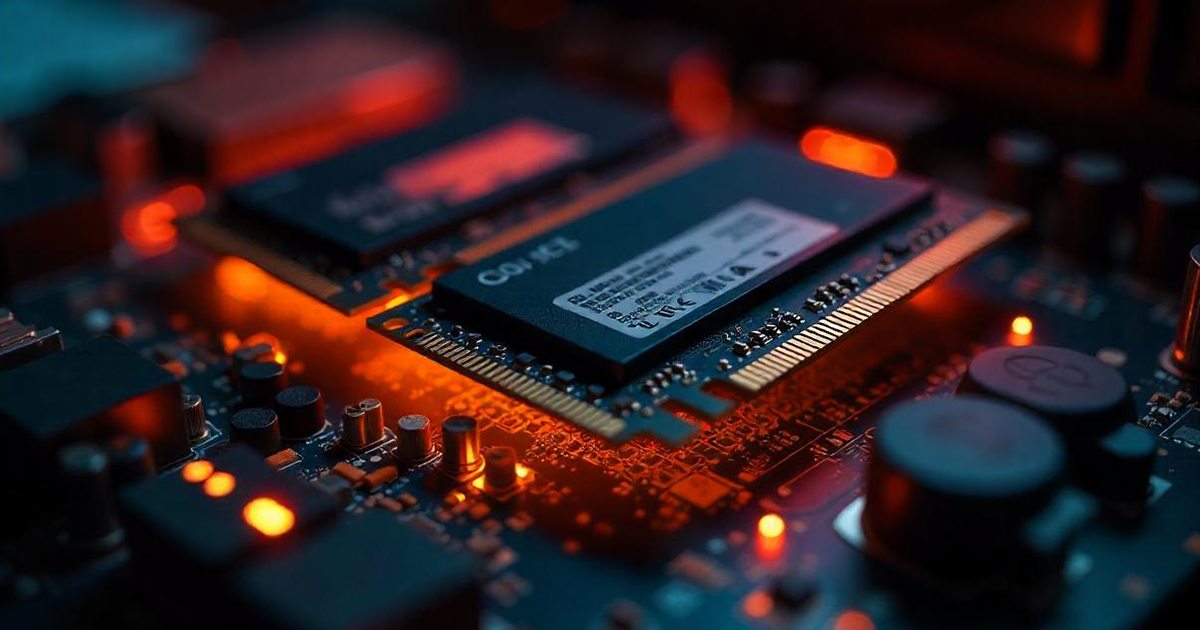
- For an M.2 SSD: Gently insert the M.2 SSD into the M.2 slot at a slight angle. Then you have to press it down until it clicks into place. You have to secure it with the provided screw.
- For a PCIe SSD: You have to insert the SSD into a PCIe slot on the motherboard and secure it with a screw.
Step 7: Connect the Cables
Once the SSD is securely mounted, you have to connect the cables:
- For SATA SSDs, you should connect the SATA data cable to the motherboard and the SATA power cable to the PSU.
- For M.2 and PCIe SSDs, no cables are needed since they connect directly to the motherboard.
Step 8: Close the Case and Power Up
Once everything is connected, you have to carefully close the PC case and screw the side panel back in place. Plug your PC back into the power source and turn it on.
Step 9: Format and Install Your Operating System
When you boot up your PC, you may need to form at the new SSD. You can do this by going into Disk Management on Windows:
- You should Right-click the Start button and select Disk Management.
- Locate your new SSD, right-click it, and select Initialize Disk.
- Finally, you have to follow the on-screen instructions to create a new partition and format the SSD.
Step 10: Transfer Data or Install Games and Programs
Once your SSD is installed, you can transfer data from your old drive or install fresh programs. If you’re a gamer, you can now enjoy quicker loading times by installing your games directly on the SSD. For video editors or content creators, using an SSD can drastically reduce render times and improve workflow.
Final Verdict
Upgrading your PC with a solid-state drive is a simple but powerful way. If you're installing the best SSD for gaming, opting for a PCIe SSD for PC, or choosing an affordable SSD for everyday use, the process is straightforward.
No Comments


Leave a comment